Table of Contents
Typically a System Administrator will setup the CVS repository on a remote server. TortoiseCVS, however, can configure repositories and modules either locally or remotely (if you have the correct permissions).
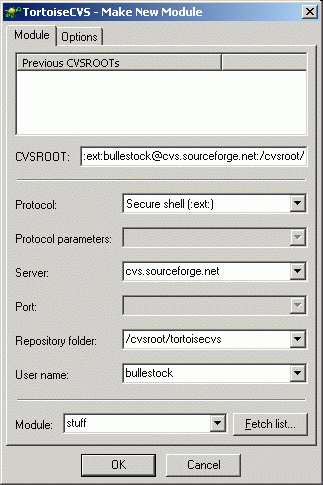
To create a new repository and/or module prepare the folders and files locally as a new sandbox. Right-click on the top level folder for your new module or repository and choose the menu item. The Make New Module Dialog will be displayed. Enter the details for the new or existing CVS repository as you would for a Checkout. Click to create the new module.
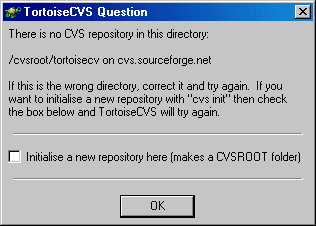
If you are using the :local: protocol, and the CVS repository does not exist,
you will be presented with the following question:
To create the new repository enable the checkbox Initialise a new repository here and click . If you have the right permissions on the remote server TortoiseCVS will setup the new repository.
Once TortoiseCVS has either created a new or connected an existing CVS repository the new module will be created. By default TortoiseCVS uses the name of the selected folder for the new module's name, but you can change this by modifying the Module textbox.

